Snowflake with Cameo Effect
This ornament is constructed in a manner similar to the Foil Star Cameo and Flaming Cameo designs: it's essentially a sandwich, with a plastic snowflake between two 1.5" pin-back buttons (pin removed). Two 2" buttons will also work, and so will two flattened bottle caps (see pictures below).
The snowflake in the example at left is iridescent, but the flakes also come in white, silver, gold, and a range of colors including red, blue, and green.
In addition to the two pin-back buttons or other center elements (see below), you will also need some fused bead trim and a plastic snowflake. My buttons are 1.5" in diameter and the snowflake is approximately 4" at its widest. You will need a heavy-duty glue for this ornament -- I like GOOP, but E6000 is also good. Make one side of the ornament at a time, waiting til the glue is dry on the first side before tackling the second side.
Start by gluing one badge in the center of one side of the snowflake (remove the pin from the badge first). Once the glue sets, add a strip of fused bead trim around the edge to give the framed "cameo" effect. To glue on the bead trim, I use a toothpick to apply a thin line of GOOP around the perimeter of the button, then press the bead trim into place and hold until the glue grabs. Then set it aside to dry for a couple of hours or overnight. Once the first side is dry, repeat the process for the second side, carefully lining up the second badge with the one on the front.
If you don't have a suitable pin-back button, you can find suggestions for alternatives here. For example, small images glued inside flattened metal bottle caps, though smaller than the buttons I used, can work well. The fluted edges make a lovely effect and provide a frame for the picture so you wouldn't even need the bead trim. (Scroll to the bottom of the page to see a snowflake ornament made with the bottle cap; you can find simple instructions for flattening bottle caps here.)
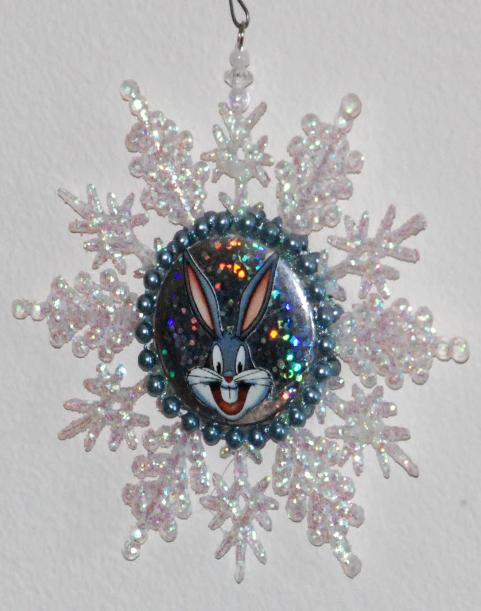
For the Bugs ornament shown above, I made my buttons using prismatic wrapping paper with fussycuts of Bug's face pasted over top; I like the sparkly effect of this paper when the Christmas tree lights shine on it. Then I selected pearlized bead trim in a steel blue color, to coordinate with the grey of Bugs' coat.
When the whole assembly was dry I ran a loop of fishing line through one of the holes in the snowflake to use for hanging; I like to put my ornaments on the tree using hooks, so I made the loop of the fishing line short and added a couple of beads as accents.
Apart from the drying time for the glue, these ornaments are quite quick to make up and are very nice on the tree.
Not just for Looney Tunes . . . . !
You can make the snowflakes using a variety of images or themes, such as pictures of family members, photos of special Christmas moments, or pretty cards that are too nice to throw out.
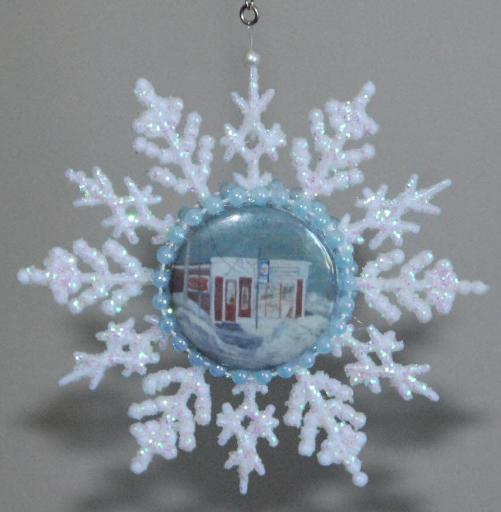
The sample at right features a special place from my childhood. This snowflake is white, with pearlized blue bead trim to match the tones of the picture.
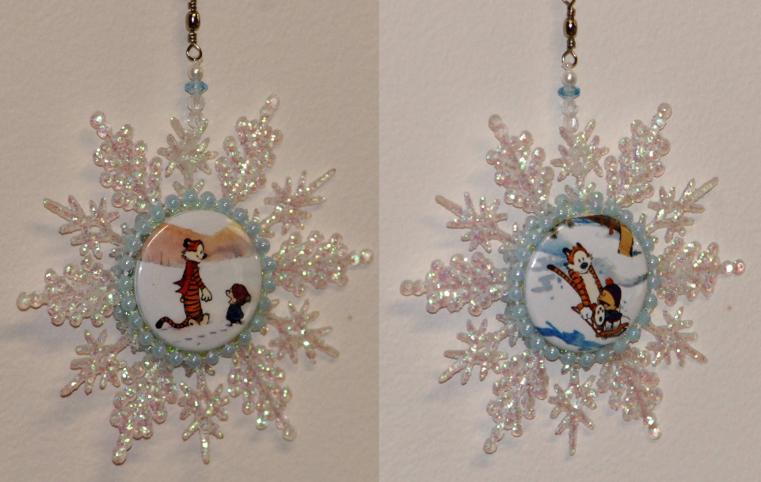
Both sides are shown of the Calvin and Hobbes-themed ornament (another favorite cartoon series around our house). The light blue pearlized beads tone with the images and with the iridescent snowflake itself; with its wintry scenes this one looks magical on the tree.
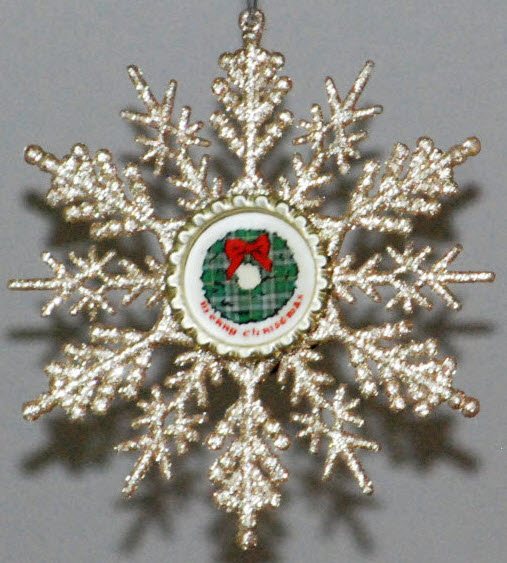
These metallic snowflake ornaments were made using flattened bottle caps with a 1" circular image decoupaged inside with Mod Podge. The bottle caps fit nicely into the center of the flake and will accommodate a small image. The reverse side of each ornament is identical.
On the first example, I left the bottle cap its original gold to coordinate with the gold of the snowflake; the fluted border is pretty on its own even without the bead trim that I used on the ornaments above.
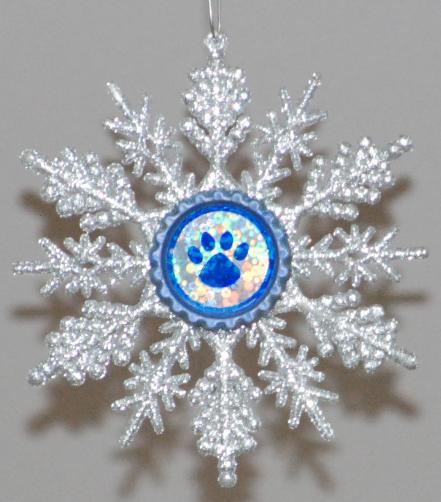
I used a flattened cap and two colors of prismatic gift paper (blue and silver) to make this paw print snowflake. I first painted the rim of the bottle cap with pale blue nail polish, then glued a 1" circle of the blue paper into the center. With a small paper punch and silver paper, I punched out the paw print, and then used a 1" circle punch to cut a circle around it. I glued the silver paper over the blue so that the paw print shows up in blue. When the glue was dry, I filled the cap with Mod Podge Dimensional Magic, which gives a smooth glossy finish. This ornament looks equally nice done in gold/blue rather than silver/blue.
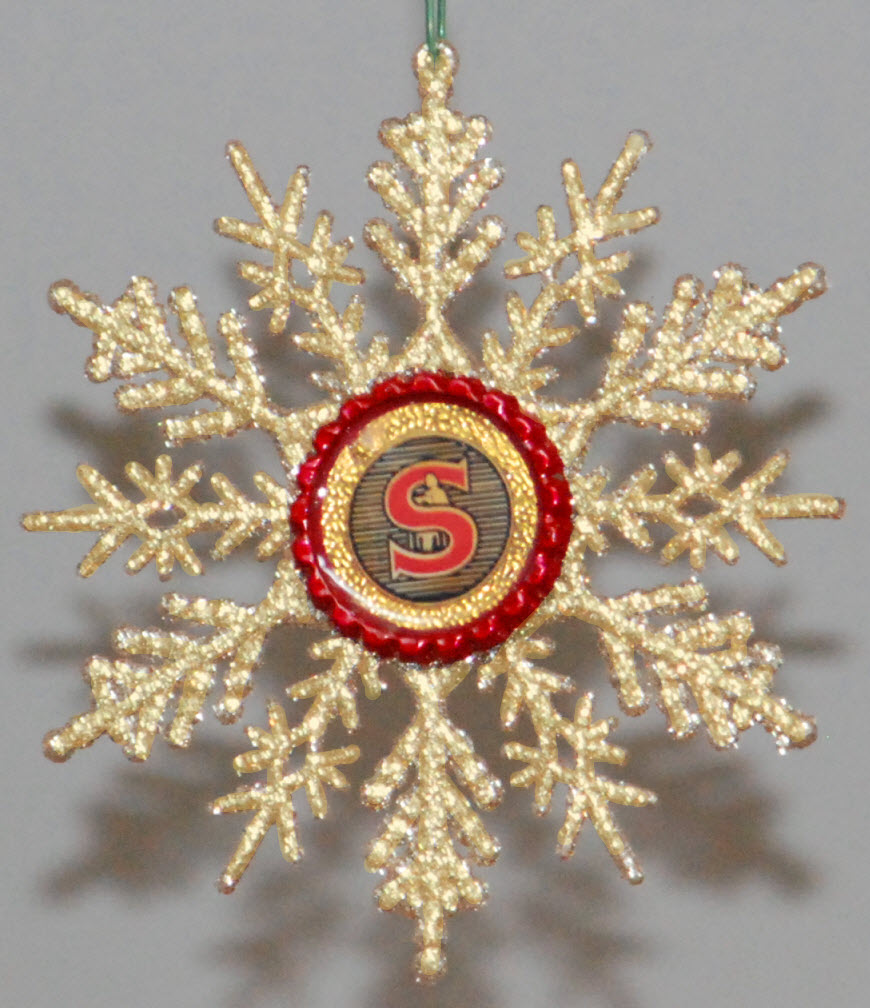
I am a fan of vintage Singer sewing machines, and this "Red S" is one of their early logos. To complement the image, I painted the bottle cap rim with red nail polish before assembling the ornament. The logo image is mounted on sparkle foil and decoupaged into the center of the bottle cap, then covered with Mod Podge Dimensional Magic for a thick resin-like finish.
This style of snowflake is a more recent addition to my collection of craft supplies; the built-in hanging loop makes it easier to add a hook.