If you don't have a button press . . .
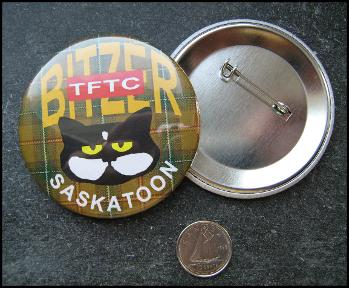
It's great fun to make ornaments with pin-back buttons, and I have used them in several of the ornaments on the site. If you don't have a press for making buttons, you may feel you can't participate; however, there are alternatives! Here are some you might find worth considering.
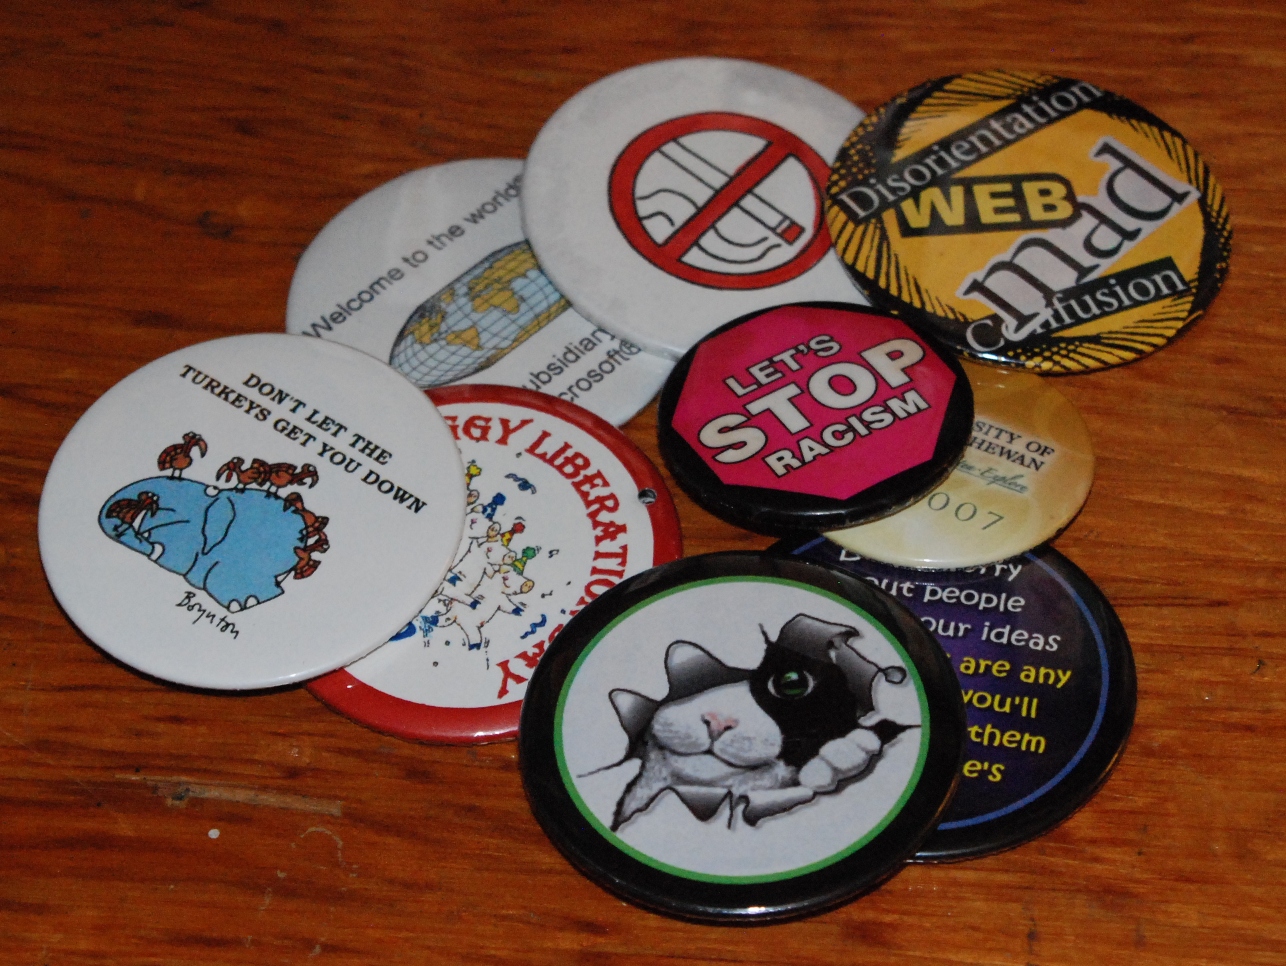
Use existing buttons as-is
Collectable buttons featuring favorite characters, pop culture slogans, rock bands, causes, political candidates, or special places can make great ornaments. Choose two buttons of the same diameter, and use your side-cutting pliers to snip out the pin-backs, then proceed making the ornament as directed here. You can almost always find ready-made buttons at gift and specialty stores, tourist outlets, and craft stores. Thrift stores and garage sales are good sources for second-hand buttons, and they are very cheap.
Decoupage over an old button
If you have some buttons around but they aren't suitable for an ornament, you can actually reclaim them by decoupaging a new image over the old -- so even if you don't have a button press, you can still add your own images to buttons.
Cathe Holden gives excellent instructions on her blog for decoupaging the buttons, and her recovered buttons look great! Use images from gift wrap, comic books, or catalogues, or print your own on a laser printer. (You can't use decoupage medium on an ink-jet print as the colors will run). You can even use fabric to recover a button. Once your decoupaged buttons are dry, you can proceed making the ornaments.
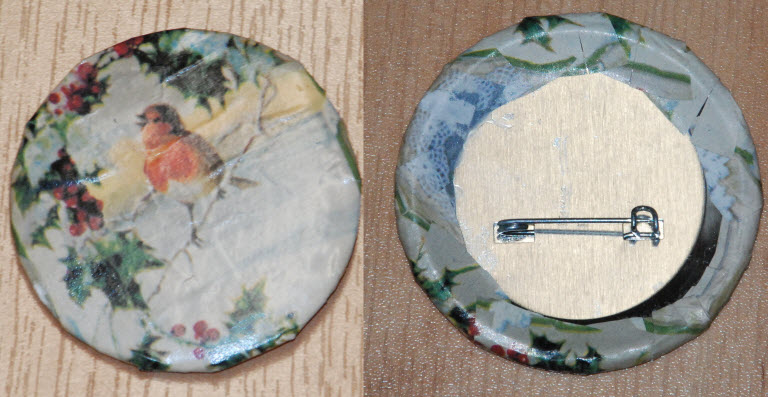
I made this example quickly just for this picture. I used a lightweight Christmas wrap, but if I were doing this for real I think I'd use a slightly sturdier paper.
Check out the link at left to see some really nice examples.
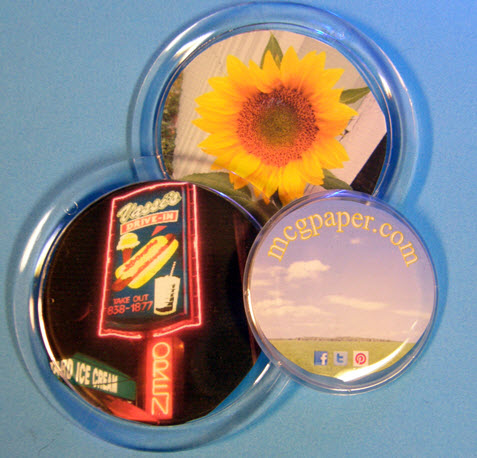
Try plastic snap-together buttons
You can buy kits that allow you to make a photo button with parts that simply snap together, without a button press. They come in several sizes, including a 3" version. You can find these kits on Amazon or purchase them at a craft store, or get them on line from Snap-together. Then use the finished buttons to make your ornaments. This isn't the cheapest way to go, but the plastic frame does showcase your images nicely.
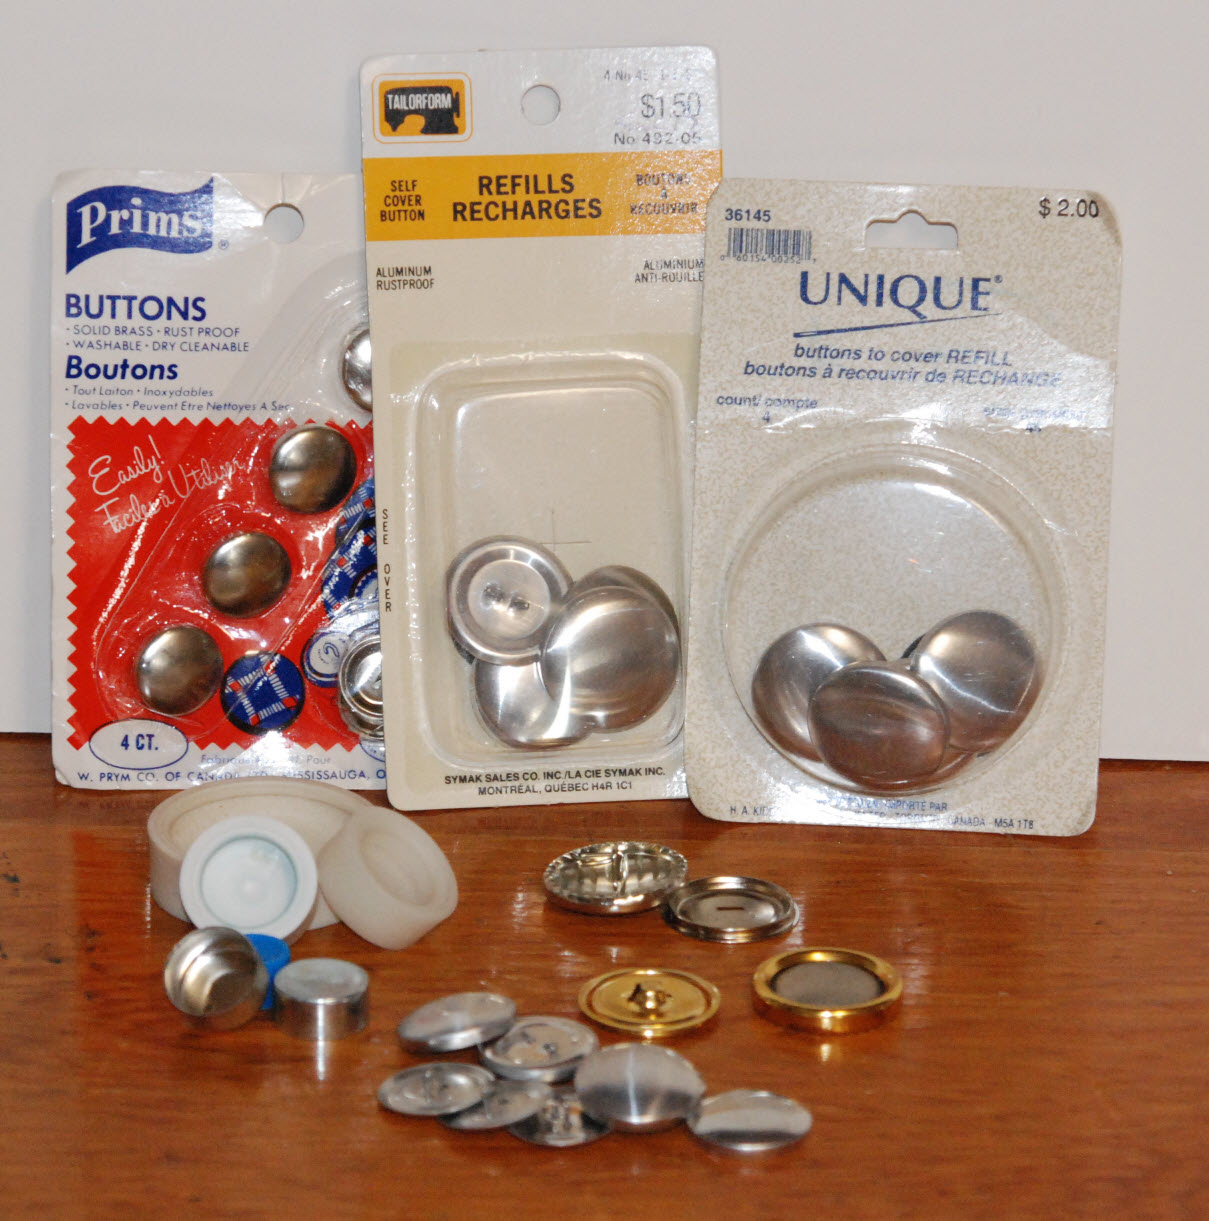
Use Covered Buttons
Sewing notion companies have long offered cover-your-own buttons for use on upholstery or clothing. These tend to be smaller and a bit more rounded than button-badges, but in the larger sizes they would work for some ornament applications. The simple tools you need to cover them often come right in the kit.
These can be had from a small 1/2" size to 1 1/2" or even 2".
They are designed for fabric, but if you experiment you might be able to make them work with paper.
Purchase Ready-made Custom Buttons
Many local print shops or trophy shops will make up custom buttons from your own photos or drawings -- check your yellow pages to find a place in your area that offers this service.
You can also order custom buttons from places like Zazzle or Cafe Press or Six Cent Press. They will all put your own images on a button. It won't be cheap, but if you are making a special ornament as a gift, the expense may be worth it.
Try Flattened Bottle Caps
Many craft stores and beer-making suppliers sell bottle caps, which you can flatten with a rubber mallet (click here to find a great instructional youtube video by Beadaholique that shows how to flatten the caps).
You can also purchase pre-flattened caps at many craft stores or on-line. In addition to the standard beer-bottle size, these are also available in larger versions specifically for making crafts.
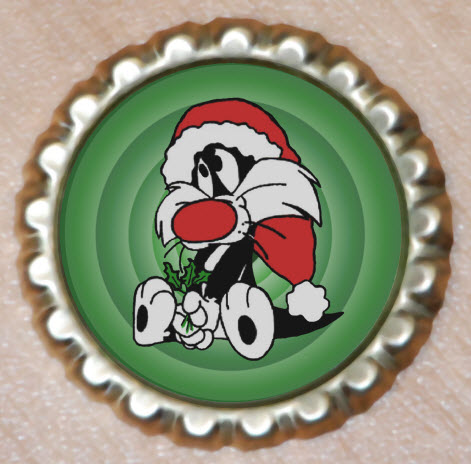
If you are recycling old caps, you could incorporate the existing artwork into an ornament. You can also decoupage an image on the outside back of the cap or use the inside of the cap to frame a small image that can then be used to make an ornament.
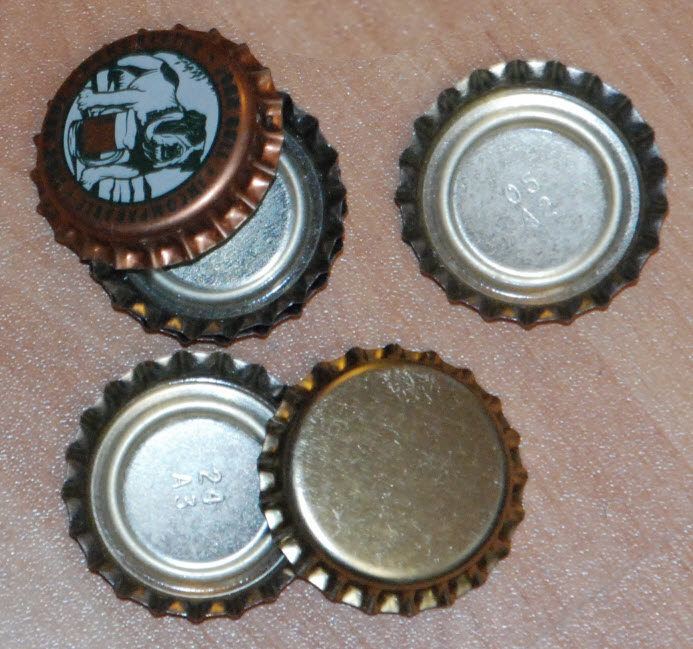

Either way, a flattened cap provides a very pretty fluted frame for an image about 1" in diameter, and is perfect for use in making many of the ornaments on this site (including the Snowflake and Star Cameos, or the Puzzle Pieces ornament).
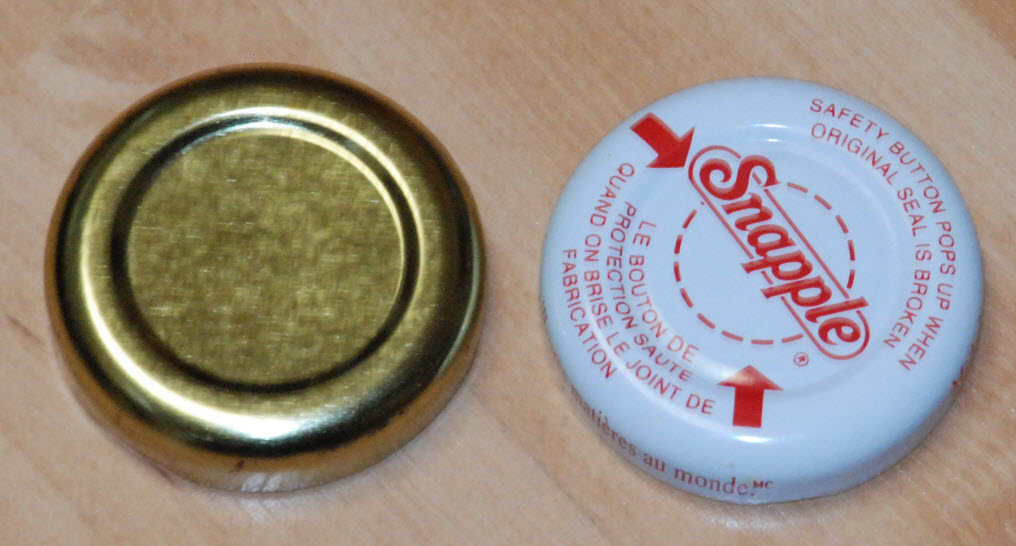
The metal caps from glass juice bottles can also be decoupaged with an image, and could be substituted for buttons in many of the ornaments on the site.
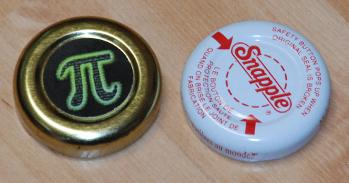
The lids have a slight recess that perfectly fits a 1" diameter image, which can be decoupaged in place. If your lid is plain gold or white, you can use it as-is. If it has printing on it, you can use acrylic paints to color it, or If you prefer, you can decoupage over the entire surface -- cut your image large enough to wrap over the edge and under the rim, trimming and slashing where necessary to make the image fit smoothly over the cap.
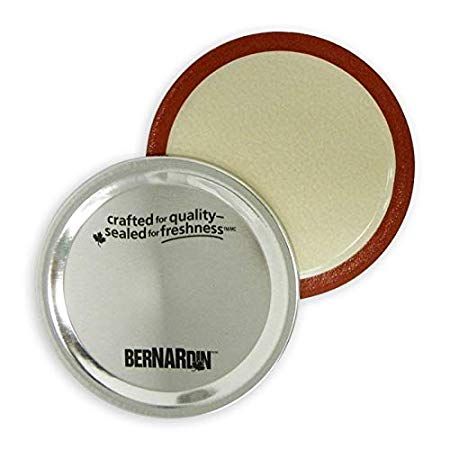
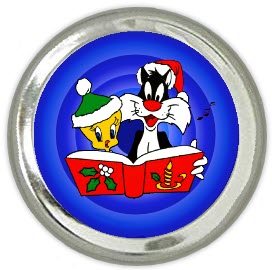
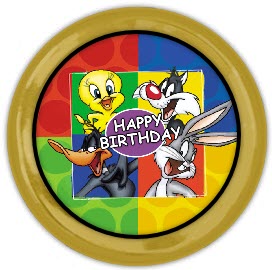
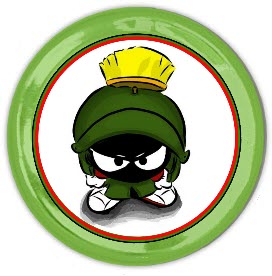
Anyone who does home canning will have a supply of discarded snap lids, which can be used only once for canning. There are two popular sizes, which are perfect for making ornaments.
The lids are most often silver-coloured, but they also come in gold and even metallic colours like red, green, and blue. Two of them glued back-to-back make wonderful ornaments (punch a hole in both lids before gluing, to allow for a hook), and the raised rim around the edge forms a nice frame for images. Decoupage the image in place, then cover with a light coating of Mod Podge.