
Decoupaged Shapes (Hardboard or Card)
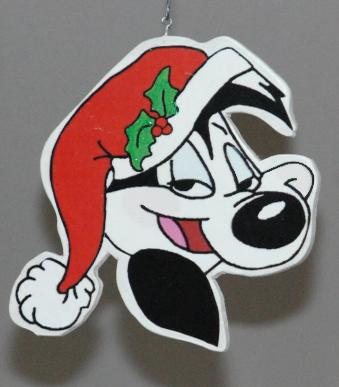
I couldn't find an image of Pepe with a Santa hat, so I used my drawing program to add a hat to an image taken from my Looney Tunesiron-on transfer book.
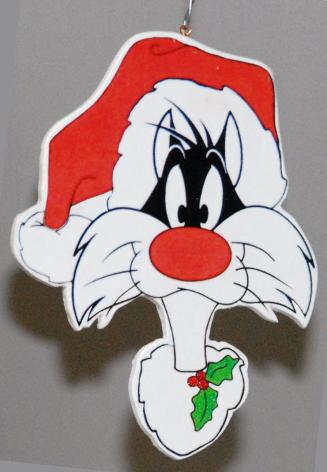
Sylvester is one of our favourite Looney Tunes characters.
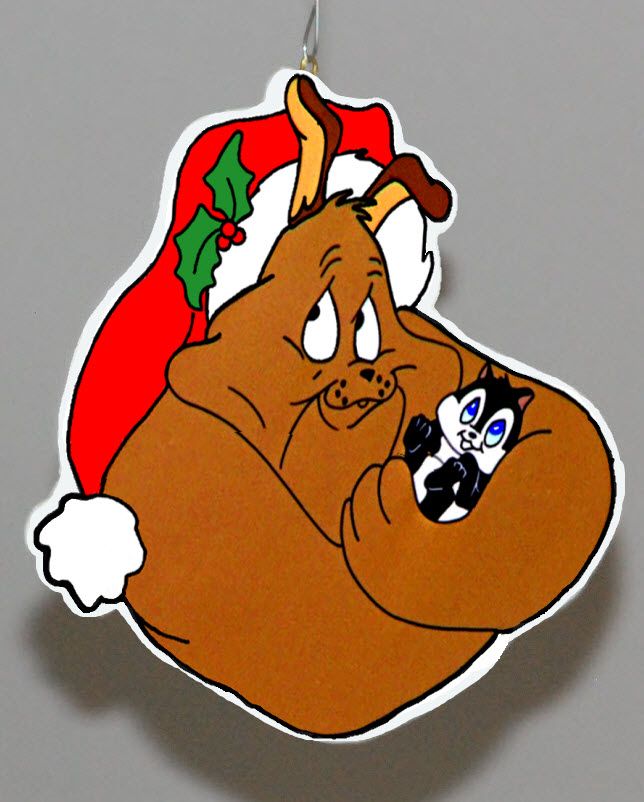
At the time when I made this one, it was nearly impossible to find any ornament featuring Marc Anthony and his kitten, so I couldn't resist making him for our tree. Hallmark didn't have one until its 2019 release.

Daffy's another favorite at our house, and he's well represented on our Looney Tunes tree, with this and other handmade and purchased ornaments.
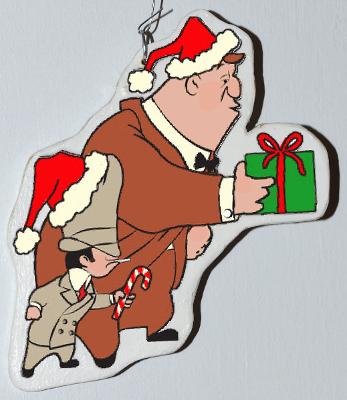
I couldn't resist adding Santa hats to Rocky & Mugsy; in keeping with the Christmas theme, I replaced their guns with a gift and a candy cane.
These flat ornaments couldn't be simpler to make: just fussy-cut the images and glue them onto a scroll-sawed shape, then finish with a coat of Mod Podge.
Because these are printed images just decoupaged in place, there isn't any complicated painting to do, and -- once the cutting is done -- the ornaments are fairly quick to finish.
I cut the ornament shapes from 1/4" hardboard (masonite), but similar ornaments could be made using thin plywood or three layers of cardboard glued together (see my Santa, below). My super-crafty sister suggests using a double layer of mat board, and you could even get away with foam core board, though I'm not sure how well they would stand up over the long term (wouldn't the foam tend to disintegrate?).
I scanned several images from a book of iron-on transfers that I have in my collection, then colored them on the computer, but you can probably find suitable images on the Internet if you search. Printable coloring pages are a great source of simple images that work well for this project.
Daffy and Sylvester already had Santa hats, but I used my drawing software to add hats to Marc Anthony and Pepe.
I sized the images to about 4" tall, which seems a good size for an ornament, and printed on 20-pound laser paper, which has a nice smooth finish. Ideally the images should be laser-printed, since ink-jet images may smear when decoupaged. If you don't have a laser printer, print the images with your inkjet, then have them color-photocopied, and work with the photocopies to make the ornaments.
You will need only one image if you plan to leave the back plain, but since I wanted my ornament to be two-sided, I printed a second image, remembering to reverse it for the back of the ornament.
I then fussy-cut the images with scissors, trimming close to but not through the outline. Using a pencil, I lightly traced around one of the images onto a small piece of 1/4" hardboard, leaving a tiny margin of about 1/8" all around the image as I traced.
Then using my scroll saw, I cut out the shape just outside the penciled line so that there would be a teeny border on the finished ornament. When the shape was cut, I lightly sanded the edges just enough to remove any roughness. Be careful not to sand off too much of the border.
I wiped off any sawdust residue using a tack cloth, then painted the entire shape with white acrylic paint, paying close attention to the edges. I found I needed two coats around the edge, but I didn't worry too much about the middle since it would be covered by the decoupaged image.
When the paint was dry, I glued the first image to the hardboard using podgy. After it had dried, I glued the reversed image to the back of the ornament, then set it aside overnight so the podgy could cure. I gave the whole thing another coat of podgy to seal the images and to add a bit of shine, and set it aside to dry again.
Once the podgy was thoroughly dry, I drilled a hole in the edge of the ornament using a tiny drill bit on my rotary tool and added a teeny screw-eye. If you prefer, or if your hardboard is thinner than 1/4", you can drill a hole straight through the top of the ornament to take a hook or a string.
If you wish, you can fairly easily add Christmassy details like Santa hats and wrapped packages to make the images more festive.
I love these ornaments, not only for their relative simplicity, but because I've been able to add some of the more obscure characters, such as Rocky and Mugsie, for whom there are no commercial ornaments available.
I think my next project will be to add Granny to my collection -- at the moment I don't own any ornaments of her.
Not Just for Looney Tunes . . !
These super versatile ornaments can be made using just about any image you can think of -- other cartoons are a great choice, but really there's no limit.
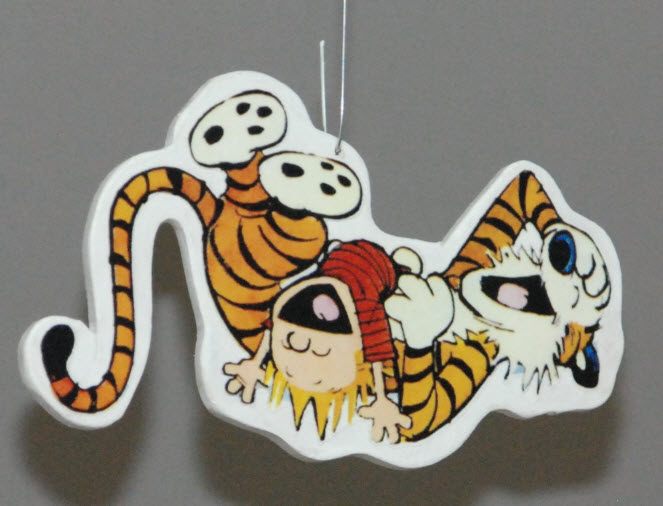
This image of Calvin and Hobbes laughing is one of my favorite pictures of them.
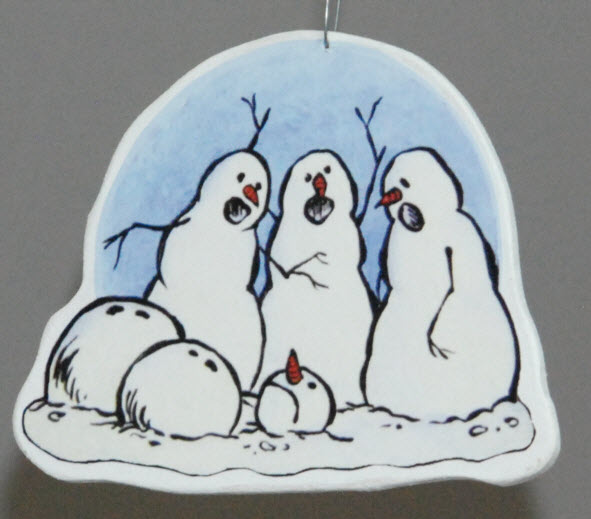
Calvin's snowmen are always good for a smile.
We love Calvin and Hobbes and own all of the books of collected cartoons, so I couldn't resist adding these two ornaments to my non-Looney Tunes tree. Because these ones were cut from 1/8" hardboard rather than the 1/4" thickness I used for the Looney Tunes ones, I drilled a tiny hole right through the top of the ornament to take a hook for hanging. Before drilling, make sure you have located the balance point or your image will hang crooked.
Although the decoupage method makes the ornaments easy to do, you could also make ornaments that are original works of art by painting your own scenes or images right on the hardboard, then cut it out on the scroll saw to make the ornaments.
So far I've made mainly Looney Tunes versions, plus the two Calvin and Hobbes ornaments shown, but I am already envisioning a whole bunch more: for example, a set of Hogwarts house crests is beckoning to me from the future. I'll add more photos when I get them done.
Don't Have a Scroll Saw?
If I didn't have a scroll saw to cut out the shapes, I would make these ornaments from three or four layers of cereal box cardboard glued together. The laminated cardboard makes a surprisingly firm and sturdy ornament once the glue and paint are thoroughly dry.
I made these beautiful ornaments using four layers of cereal box cardboard glued together. Once the glue and paint have dried, these versions are just as sturdy as the hardboard ones shown above.
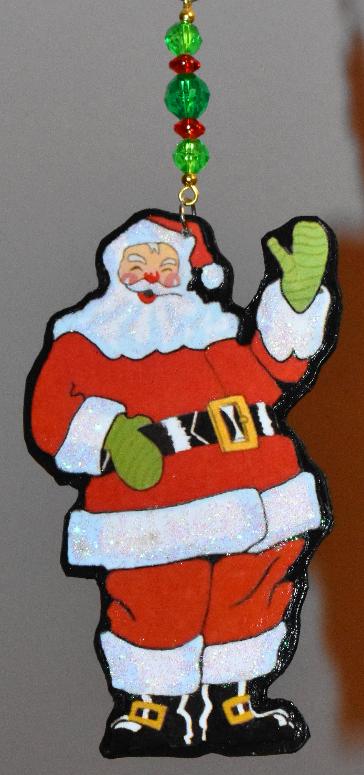
First up is my beautiful Santa, based on a 1960s pattern for a wooden lawn decoration.
I printed the Santa images and fussy-cut them first, then traced around them onto the cardboard, leaving a small border. I cut out the card layers individually, then glued them together with tacky glue, making sure to place the printed sides to the inside. Then I lightly sanded the edges with an emery board, just to smooth them together.
Once the glue is dry, you can paint the ornament shape white or black; I've used black for Santa. When the paint has dried, glue the images in place and finish with a light coat of podgy or varnish. I have also added a little bit of glitter glue on his beard and white fur. I love this ornament!
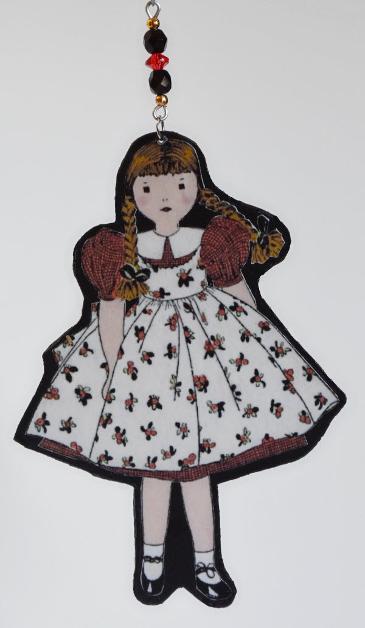
My second sample ornament is based on an illustration of the Little Girl Doll from Edith Flack Ackley's 1939 book Dolls to Make for Fun and Profit. That book was a favourite of mine as a child; it was the first book I ever withdrew from my elementary school library, and the first soft toy making book I ever read. I was delighted to find a copy of my own only a few years ago.
This ornament was made in exactly the same way as Santa; I printed two images (reversing the second one) and fussy cut them. The construction process for these ornaments would be simplified if you have access to a cutting machine; I have just acquired one that I'll use for the next such ornaments I make.
To complete the ornaments, you can punch a hole for hanging using a heavy-duty punch or an awl, and add a beaded component to the top if you like.
The glue and paint make these cardboard versions quite strong, and when finished they are virtually indistinguishable from the hardboard versions. As long as they are stored in a dry place, they will last for decades.
My sister, who used to do a lot of photo framing, suggested making similar ornaments from mat board, which cuts fairly easily with a craft knife, and is just thick enough for an ornament without being too heavy; for these ornaments, she likes to use a double layer. Mat board takes paint well, and these ornaments are a great way to use up scraps that are too small for framing but too big to toss out. You might also have some luck with foam core board, provided you have a way of cutting it accurately and smoothly. One layer would be thick enough and would make a super lightweight version, though personallyI would want to seal the edges somehow to help keep the foam from crumbling over time.
This laminated card version would work really well for Victorian images, photographs, family coats of arms, or other favourite characters or motifs.