
Embroidered Patch Ornament
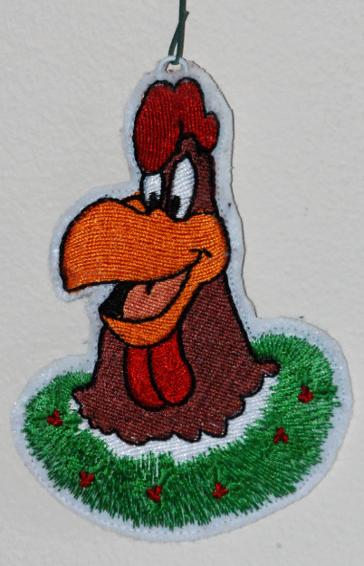

You can make really nice ornaments from the kind of embroidered patches you can buy from a fabric or craft store, at concert events, tourist outlets, or even at Walmart.
If you have access to an embroidery machine, or if you know someone who would be willing to embroider a design for you, you will have an even wider choice of subject. (Find a wonderful collection of designs at Embroidery Library.)
The basic process involves gluing the patch or stitch-out to a plain piece of felt, stitching around the edge with invisible thread, and then trimming away the felt, leaving a narrow border.
A design or pre-made patch approximately 3-3.5" tall is about right for a tree ornament. You'll also need a piece of coordinating felt and a paperclip. With tacky glue, glue the paperclip to the back of the stitched design or patch so that one curved edge shows just above the center so that you have formed a loop for hanging.
When the glue on the paper clip has dried, spread tacky glue all over the back of the patch, covering it right to the edges. Lay the patch on a coordinating piece of felt and press them together firmly. Continue to finger-press the edges until the glue grabs and there are no gaps around the edge of the patch. Then set the whole thing aside to dry.
When the glue is dry, trim the edges of the felt backing, leaving a narrow border around the design. If you like, you can machine stitch around the edge with invisible thread, walking the machine carefully past the paper clip so as not to break the needle.
A two-sided version
If you are embroidering your ornament, you can make a two-sided version. Simply reverse the design in your machine and stitch out a second time.
Gently remove the tear-away from around the outside of the two stitch-outs. Trim around the design leaving a border of about 1/8" - 3/16" (a little wider is okay -- you can trim it later if need be). Glue a paperclip to the top back of one of the stitched pieces to form a loop for hanging, just as you did for the one-sided ornament above.
When the glue on the paper clip has dried, spread tacky glue all over the back of one of the stitched designs, covering it right to the edges. Place the two stitch-outs together back-to-back, carefully matching up the edges, and press together firmly until the glue grabs. Then set aside to dry completely. Trim around the design as described above, and if you like you can sew around the edges to finish.
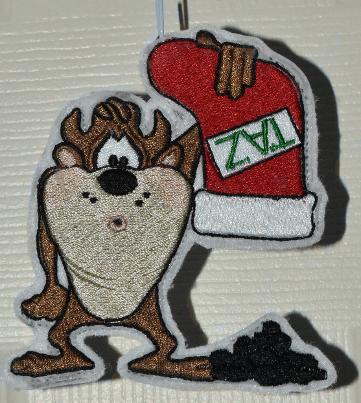
The pink cheeks and lips on Taz were I made by lightly coloring with a pink crayon. I love his expression.
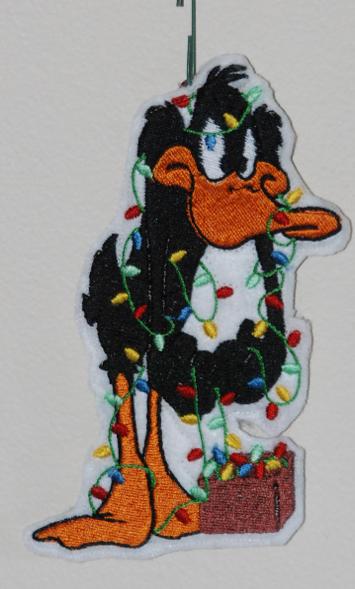
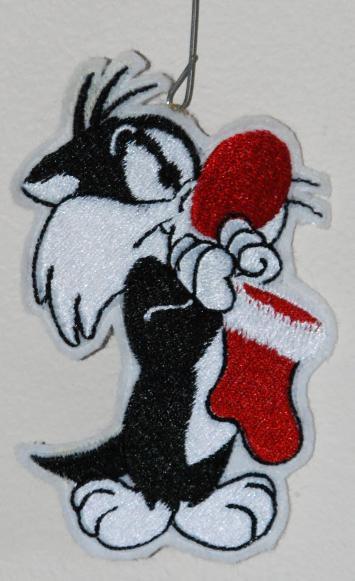
The Sylvester Junior ornaments are among Hubby's favorites, since Ornaments featuring him are not easy to find. Making your own gives you lots of choice when it comes to decorating your tree with all the characters.
Not just for Looney Tunes . . .
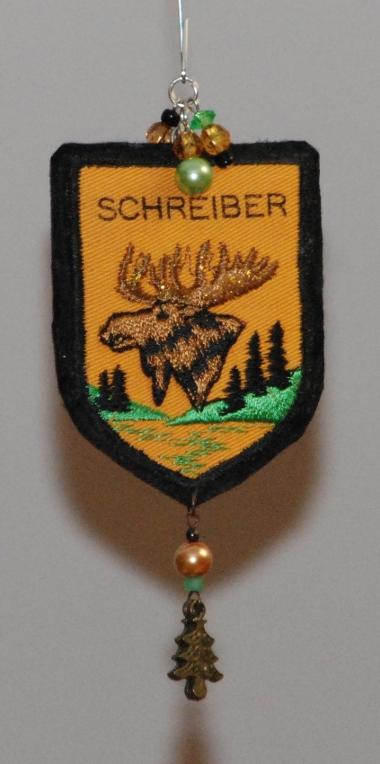
We like to buy ornaments as mementos of places we visit, but unfortunately, they're not always available. However, many communities do offer sew-on patches, and if you're so inclined, you can make your own commemorative ornament using the method described above. For the example at left, I purchased two patches so I could make my ornament two-sided.
My patches had a very narrow border, so I first stitched each patch to a piece of black felt to make a slightly bigger border for my ornament. I trimmed the felt with scissors, leaving about 1/8" around the edge. Because the patches were rather soft and I wanted a sturdier ornament, I glued a piece of stiff card between the two patches when I glued them back-to-back. Then I finished them by machine-stitching around the edge of the crest shape.
To decorate my ornament, I added some bead dangles to top and bottom.
For the top, I made several short bead dangles in coordinating colors, putting two or three beads on each, and added them to the ornament with a jump ring. I also added a longer dangle to the bottom of the ornament (I really like the way the metal Christmas tree echoes the trees on the embroidery). Finally, I added just a tiny touch of gold glitter glue to the moose's antlers.
In this way almost any patch or embroidered design can be made into a neat ornament. I wasn't crazy about the orange color of this one at first (orange isn't a Christmassy color to me!) but with the bead dangles and the added sparkle on the moose's antlers, this looks nice on the tree.
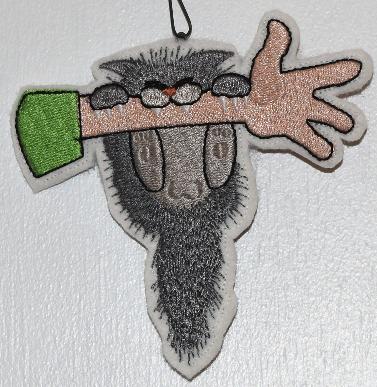
This is a new favorite ornament! Our grey kitten was a bit of a terror when young, and his idea of play was to attack the nearest foot or hand.
I stitched out the design on white felt, reversed the design and stitched it a second time, then usedtacky glue to join the two back-to-back, sandwiching a paper clip between to acccommodate a hanger.
Hubby opened this on Christmas morning and just loved it. So do I.
This ornament will strike a chord with fans of vintage sewing machines. It features an embroidered version of the bed decal from the beautiful Singer model 66 "Red Eye".
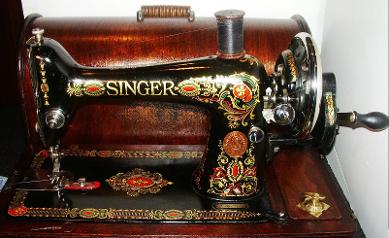
I used metallic thread for the gold elements, and matched the red and green threads to the colours in the original decal.