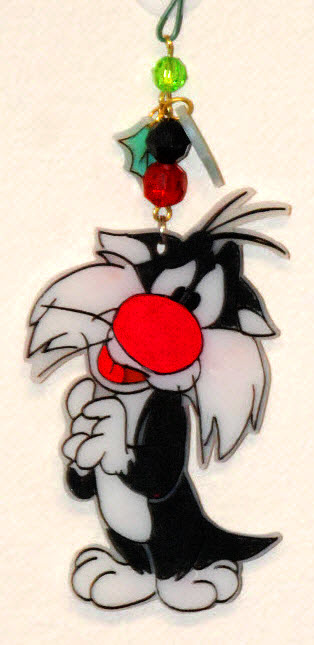
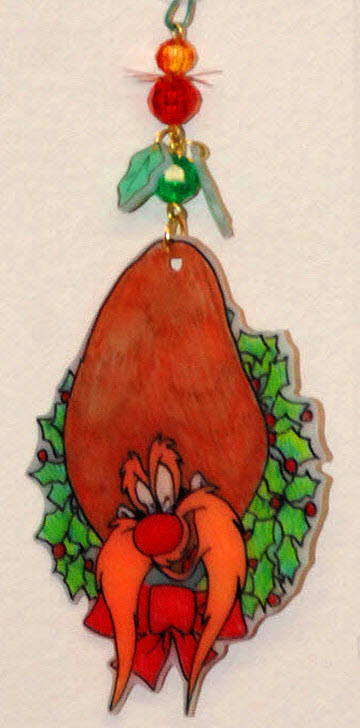
These ornaments were made by tracing images from a book of iron-on transfers onto white (not transparent) Shrink Art plastic. I used some Shrink Art I had had for some years so it may not end up as thick or shrink as nicely as the newer versions.
I used approximately half a sheet for each of these ornaments, and traced on both sides of the plastic with a black Sharpie. Once the images were traced, I colored the figures on both sides using good quality colored pencils. (I tried coloring with colored Sharpies first, but I didn't like the results when I baked the plastic,so I decided to try again with the pencils.) The colors deepen and become permanent when the plastic bakes up. If you want the ornaments to be two-sided, you have to color on both sides because the colors won't show through once the plastic shrinks.
There are newer kinds of shrink plastic now on the market that can be printed directly in an ink jet printer, so if you opt for that kind you'd be spared the tedious tracing/coloring process. I didn't buy new plastic because I wanted to use up my old stock first.
When the image is colored in on both sides, you should cut around it with scissors, leaving a narrow border around the outside of the colored areas. Once the image is cut out, punch a hole in the top for hanging, using a 1/4" punch. The hole, like the rest of the image, will shrink to a smaller size as the plastic bakes.