Folded Kaleidoscopic Paper Flower
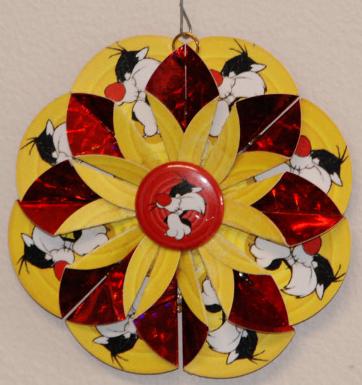
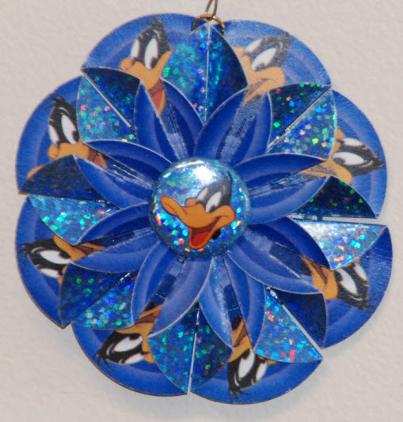
These kaleidoscopic-effect paper flower ornaments are made from eight circles cut from double-sided cardstock, and then mounted on a ninth cardboard circle. These are most often used as flat package decorations, but I wanted to adapt them as ornaments for my Looney Tune tree, so I made them two-sided and a little heavier than you'd need for a package trim. Here's how I did it.
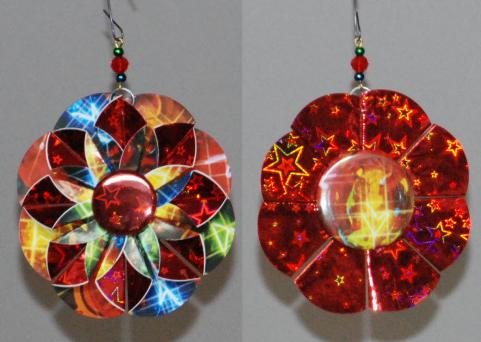
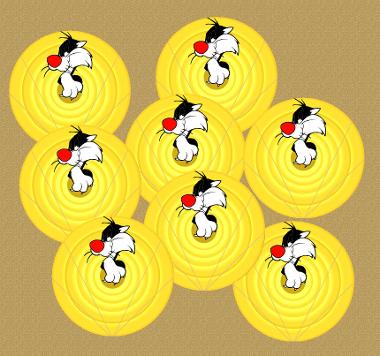
To begin, I printed my eight images on 110-lb card stock. I sized my circles to 2", making a finished ornament of just over 4" in diameter, but you can use a slightly smaller or larger circle if you prefer. Before cutting out my circles, I spray-glued some prismatic wrapping paper to the back of the cardstock so that the back would shimmer and catch the tree lights. Once the glue had set, I punched out the eight images with a 2" paper punch.
The next step was to fold them to form the petals, following the folding guidelines on this diagram.
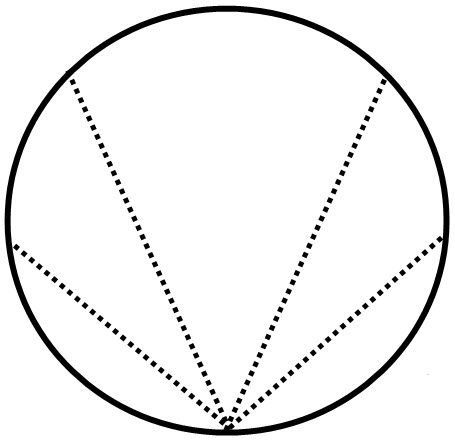
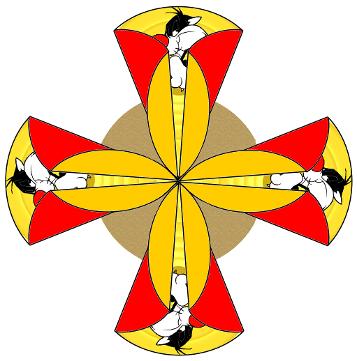
The folded petals should resemble the drawing below.

When you have folded all eight, cut one more 2" circle from a slightly heavier cardboard (cereal box weight is fine). Glue the petals to this heavier circle to create the ornament.
Begin by attaching the petals opposite each other (at east and west points of the circle). Then add the petals at north and south of the circle. Once those have been glued in position, fill in the rest.
If you would like more detailed instructions, you can find them on several on-line sites. Find a video by Dawn Griffiths on youtube or read a very clear tutorial (with pictures!) on Laura Bird's blog, which you can access here.
I used tacky glue to stick the petals in position,but you might prefer to use roll-on adhesive as Dawn does in her video. This would be quicker as you wouldn't have to wait for the tacky glue to dry.
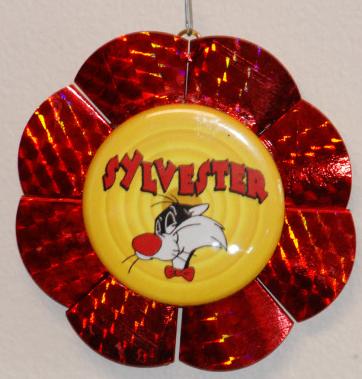
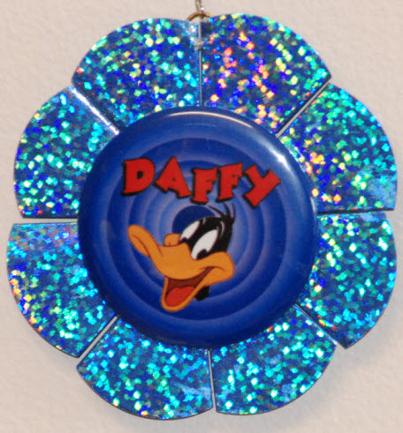
In place of a decorative clothing button for the center front, I wanted to repeat the image of my chosen character, so I picked a 1" button-badge with flat back. I glued this to the center front of the ornament using GOOP, though double-sided foam tape would also work.
To make the back look as nice as the front, I covered the plain cardboard circle with a 2.25" pinback button glued in position using GOOP. (Either use a flat-backed button or remove the pinback). If you don't have a suitable badge, you may wish to modpodge an image to another circle of cardboard -- if so, make the circle slightly larger than the base card piece so that it will completely cover the plain back piece. Once the modpodge is dry, you can glue the circle in position so it covers the base cardboard piece.
Make sure when you glue the badge or decoupaged image to the back of the ornament that you have it right side up (aligned with the front of the ornament) so it won't be upside down when the ornament is on the tree.
I like to hang my ornaments with hooks rather than string or ribbon, so I added a jump ring to accommodate the hook. Using a darning needle, I poked a hole through the folded edges of two adjacent petals and inserted the jump ring through them. It's fiddly to do this once the ornament is assembled, so the next time I make one I will poke these little holes and insert the ring before gluing the petals to the base.
If you don't want to use a jump ring, you could simply punch a small hole at the apex of one of the petals and put the hook through that. If you do decide to go that way, you might want to reinforce the hole with a tiny eyelet. (I chose not to put the hole at the top of the petal because doing so would have given Sylvester and Daffy a hole in the head, which I didn't want). I was happy to add these sparkly ornaments to my Looney Tunes Tree, and they have proven to be a big hit with Hubby and everyone else who has seen the tree.
I love the kaleidoscopic effect and the pretty sparkle added by the prismatic paper. I've been experimenting with other patterns such as the Christmas lights print at right, and may have to make a few more for my non-Looney Tunes tree.